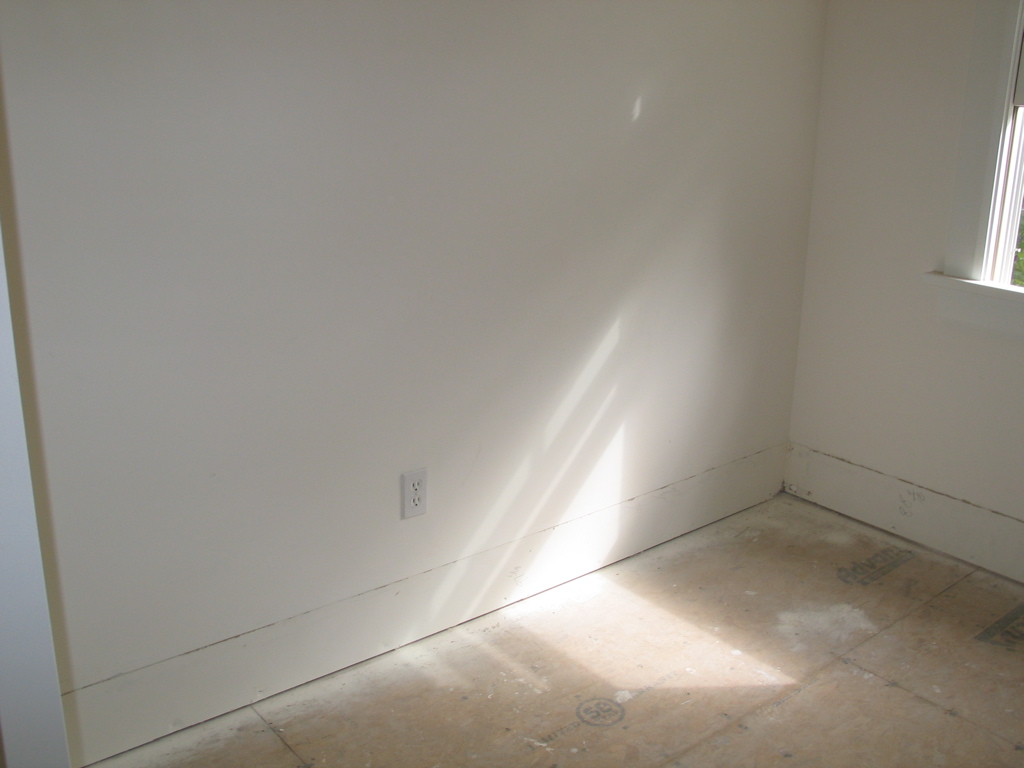
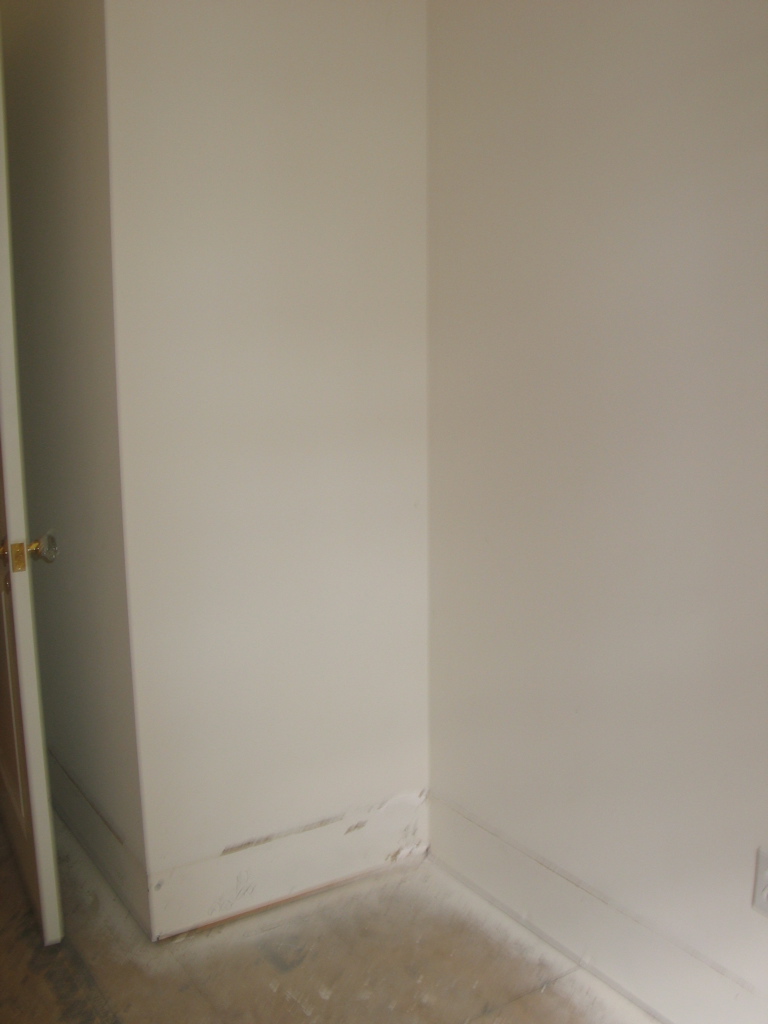
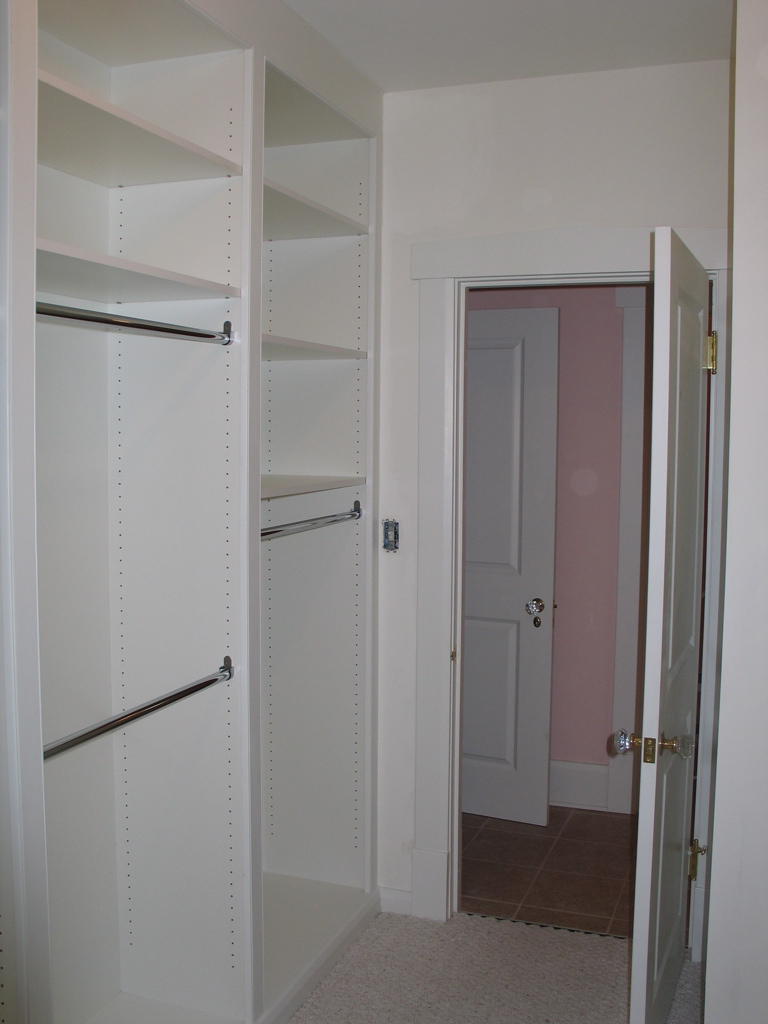
These are some pictures of the closet at the start of the projecxt, when we cleared it out:


A good friend, who is much more knowledgeable about this than I, suggested that I use a very clever system. It involves 5mm holes spaced 32mm apart. The holes can accept small pegs to hold shelves, as is common with adjustable shelf bookcases.

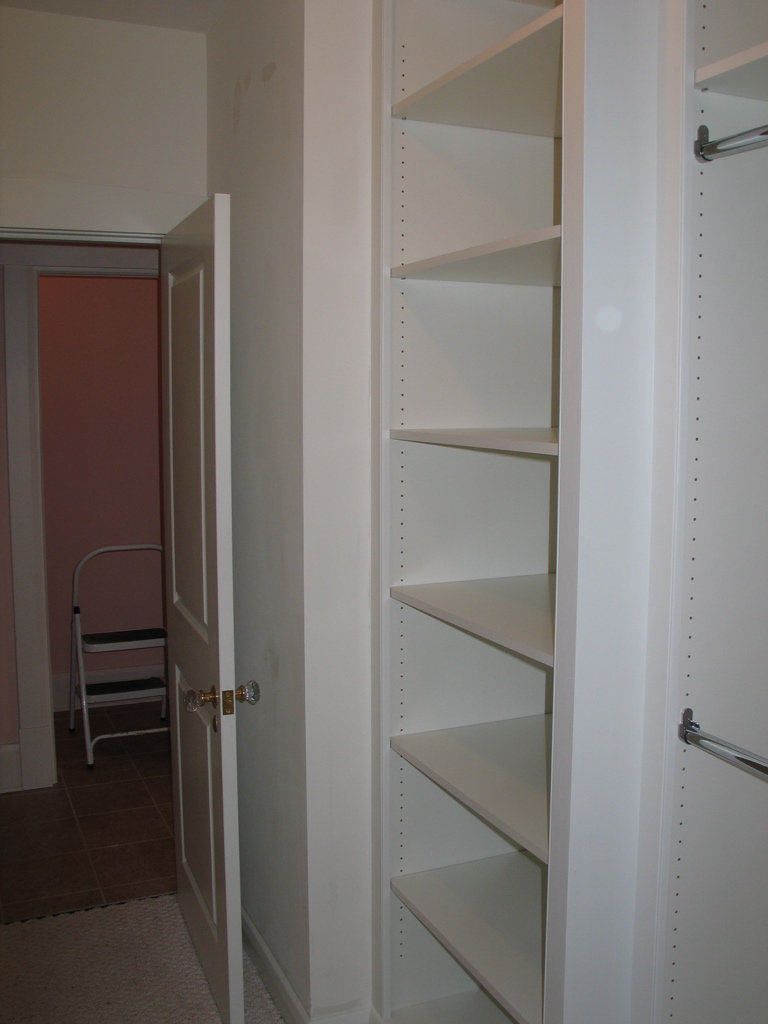
But the holes are also the right size to accept these very Knopf-Vogt hardware brackets:


With two of these brackets, one inserted in each side of the case, it is possible to hang a clothes rod in the case at any height. This allows a "mix and match" approach, where shelves are intermixed with hanging storage at a variety of heights. My friend Dave is very smart (vastly smarter than I'll ever be) about this stuff, and this was the first of many great suggestions he made.
Here's a picture of a bracket with the rod inserted:

This was a fairly challenging project, especially since I built it with melamine (particle board which has had a kind of plastic thermally fused to both surfaces). The overall steps were:
- Clean out the room and remove the carpet and pad carefully, so some of it could be re-used later (see pictures above).
- Build a 3 inch high base for each side of the closet. Once the base was built and taken to the room, it was very carefully leveled and screwed into place. This provided a stable, level base upon which to place the carcasses. It was time consuming but there is no reliable way to get the carcasses level and even without greater risk and/or time.
- Build the pieces of the carcasses, being careful to make everything exactly the right size. This required using a special saw blade in my table saw, which has a negative hook angle. This lets it cut the melamine without creating lots of chips along the edge of the cut.
- Cut (almost) all the shelves (since I was set up to cut melamine already).
- Take the pieces of each carcass up to the closet to assemble a carcass. This was necessary because the carcasses are so big it would be impossible to fit them through the closet door if they were assembled. I also had to use a special glue, called Roo Glue Clear, that bonds well to the very slick surface of melamine. To screw the carcasses together at top and bottom, I used the Jack Rabbit drilling and screwing system. It is a very clever piece of hardware that lets you drill a hole, including the countersinking recess near the surface. After drilling the hole, you pop off the drill bit to drive the screw. I learned about this watching The New Yankee Workshop. This lets you use one drill for two purposes and not need three hands. This was my first project using it and it was worth every penny I spent on it.
- Figure out the spacing of the carcasses relative to each other and to the walls. This was important so that the finish trim pieces could all be the same width. This is a place where my friend Dave saved me. I would not have placed much importance on having the vertical trim pieces (the stiles) be the same width. I even tried having variable width pieces (I cut them to length and put them in place) and they looked terrible.
- Mill pieces of poplar the exact thickness needed to glue the carcasses together and to the walls.
- Glue strips of wood to the ceiling so they were even with the fronts of the carcasses. This provided a strip to which I could nail the wide rails that run from the edge of each carcass to the ceiling.
- Cut and attach the bottom and top rails.
- Cut and attach the baseboards. I reused the original baseboards which had been removed at the start of the project, cutting them down from 7 1/2 inches to a bit less than 3 inches.
- Cut and attach the stiles between carcasses. This step was particularly tricky, since I was gluing and nailing the stiles and needed to make sure I didn't send a nail through the side of the carcass where it would ruin it.
- Make the bead detail that runs around the sides and top of each case opening, cut them to length (mitering corners), and attach them to the inside edge of each opening.


- Prime and paint the face frames.
- Re-lay the carpet
- I was planning to attach strips of poplar to the front of each shelf, but after we had the cases done and we put a shelf into the case (without anything on the front), my wife and I decided it would look better if the shelves were simply banded with melamine across the front. So I bought a 'J' roller, a bunch of melamine edge banding, a cheap iron to activate the glue on the back of the banding, and a veneer trimmer to trim the excess after the banding had cooled.

- Cut each of the rods to the right length so they just barely fit into the brackets, making sure they won't slip out of the brackets when hangers are removed (or the rods are bumped).


I tried to re-stretch the carpet in the closet and failed completely. Luckily, a guy that works for the contractor who did work on our house a few years ago knows how to stretch carpet. He doesn't like to do large jobs but he agreed to do this one. He did a great job and after he was done we were ready to clean everything (which took much longer than I'd expected) and install the shelves and rod.
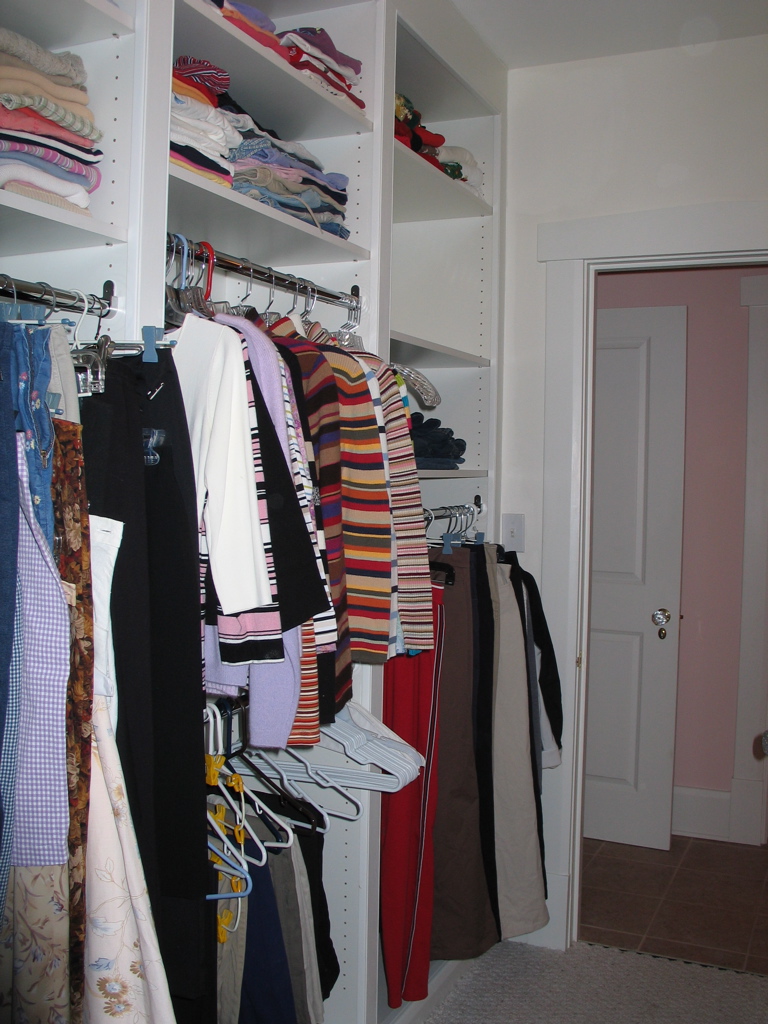
The space exceeded our expectations for flexibility. We were able to adjust shelves and rods easily, and quickly had the space customized for our clothes. The most surprising thing of all: we were able to put all our clothes into the closet, including off-season clothes that were normally stored in rubbermaids in the attic.
It was a challenging project, and I made my share of mistakes (all of which I was able to remove or repair). I learned a lot and I'm glad I did it. But most of all, I'm glad it's done.
I want to extend my eternal gratitude to my friend Dave Aholt. If not for him, this project would have been a disaster from start to finish. This project looks good because of him, and where it looks bad it's because I failed to follow his advice.


1 comment:
Hi, Brian...figured you had a 'blog' out here someplace. I don't 'get' the PC lingo... ;o) But I like the shelf project! Well done!
Lori
Post a Comment